Hello, everyone!
Today we’re going to talk about one of my favorite topics: Scrivener!
For those of you who don’t know, Scrivener is an amazing writing tool that many writers use to draft their manuscripts. It’s designed for both writers and screenwriters, and has an amazing set of features that allows you to move chapters and scenes around, as well as keep all of your research in only one place. This series of posts will be broken down in 3 parts.
- Read Part 2 here.
- Read part 3 here.
I used to be intimidated by Scrivener when I began, since it seems like a really complicated tool, but I’ve fallen in love when I started using it. It’s so easy to just organize everything in my drafts, as well as never be afraid I’m going to lose something when Word crashed or decided it wasn’t going to scroll down my monstruous 350-page document.
If you always wanted to use Scrivener but never got around to it, this post is for you!
I have to add a disclaimer here since I’m one of Scrivener’s most basic users. Although I’ve done the tutorials, I almost never use all of the software’s features. It’s got an enormous arrange to fit all of your needs, but I only use the most simple ones.
This is a guide to get you started. So let’s get to it!
Creating a New Manuscript
When you open a new project, the first thing you’re going to see is this. There are many different format to fit your needs, but I usually just go with Fiction, and then Novel. Don’t forget to name your project as well — in this example I’m going to pretend I’m drafting Harry Potter, so I named it accordingly.

A new screen will pop up where you’ll be able to start drafting. You’ll see that it has already even created a new folder under manuscript. I don’t particularly like Scrivener’s pre-sets, so I usually just throw that folder in the trash and create a new one.
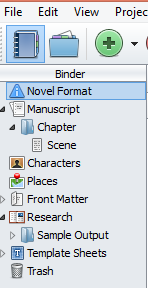
The thing titled as ‘MANUSCRIPT’ is all the documents that will be compiled when you’re done writing your book. Each folder marks a chapter, and each new document is a scene. Only the documents put under manuscript will be put into the book. You can see here folders for characters, places, front matter (with your name, address, dedication, acknowledgments and such), and a folder where you can put your research.
Another thing you’ll have to fix is the Meta-Data settings, and all the usual settings before you start writing. When you press Ctrl+Shift+M, one new screen will pop up.
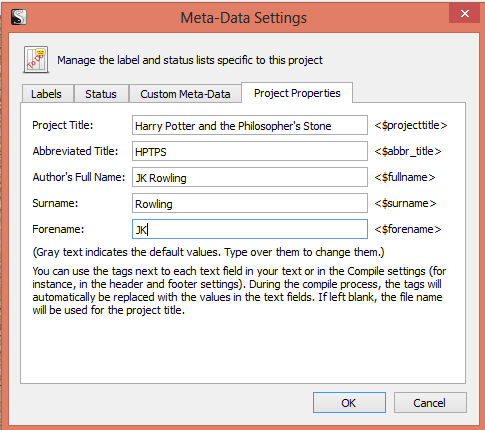
In this screen, you’ll be able to manage all the things related to the overall status of your project. I usually ignore the labels and status (Which you can use to determine if the document is a first draft, or if you’ve already revised it), but I like to adjust this Project Properties. Here you’ll insert the title of your manuscript, as well as the name of the author.
Another thing I like to adjust before really beginning my novel are the draft settings. Now when you press F12, you’ll be able to access this panel titled ‘Options’.
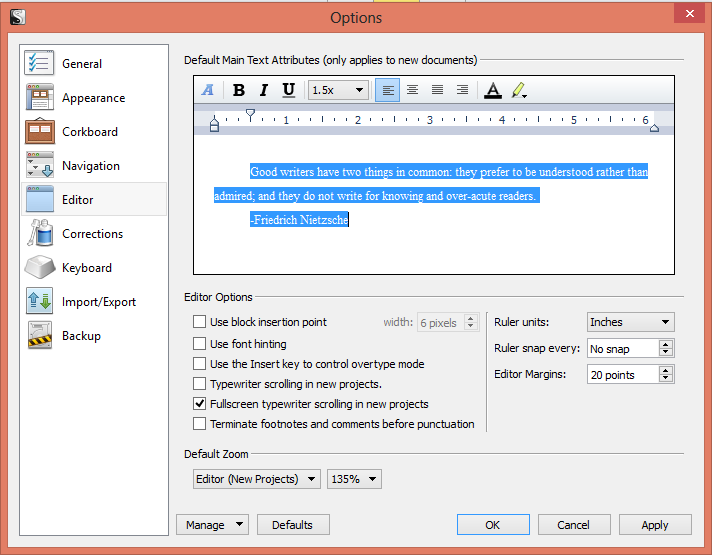
This allows you to adjust the settings that will appear in all the other documents you create for this manuscript. I like to draft using Times New Roman, so I change it on that little blue A. You can also change Paragraph parameters and space, as well as a bunch of other options.
I almost never change any of the other options, with the exception of turning on automatic back-up, which is very useful.
Now that this is all said and done, let’s get to the fun part!
Starting Your Novel
Here you can see what your panel looks like. See this little green button with a plus sign on it? This button is your new best friend. It allows you to create folders and documents that will shape your book. I created a new folder, below named “Untitled”, which will be my first chapter.
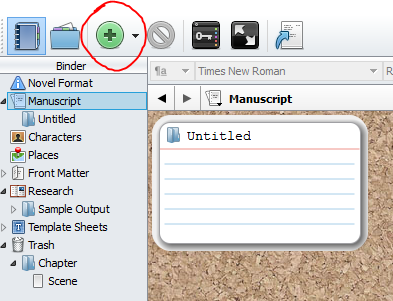
Now that I’ve created a new folder, I’ve renamed it to be my Chapter One, titled “The Boy Who Lived”. Under this I created a new text, which will be the first scene in my book, and I have typed the first line.

Notice that I have only named the chapter, but I only put “Dursley scene” on the text. Scenes don’t have to be named, you can leave them blank — I like to usually put something that’ll happen on this chapter, or who’s in it, so I can always remember what I’m writing.
You can create as many scenes as you like under each chapter, as many as you feel necessary.
In the second chapter of Harry Potter, we actually have two scenes.
Here we can see how scenes work inside a folder:
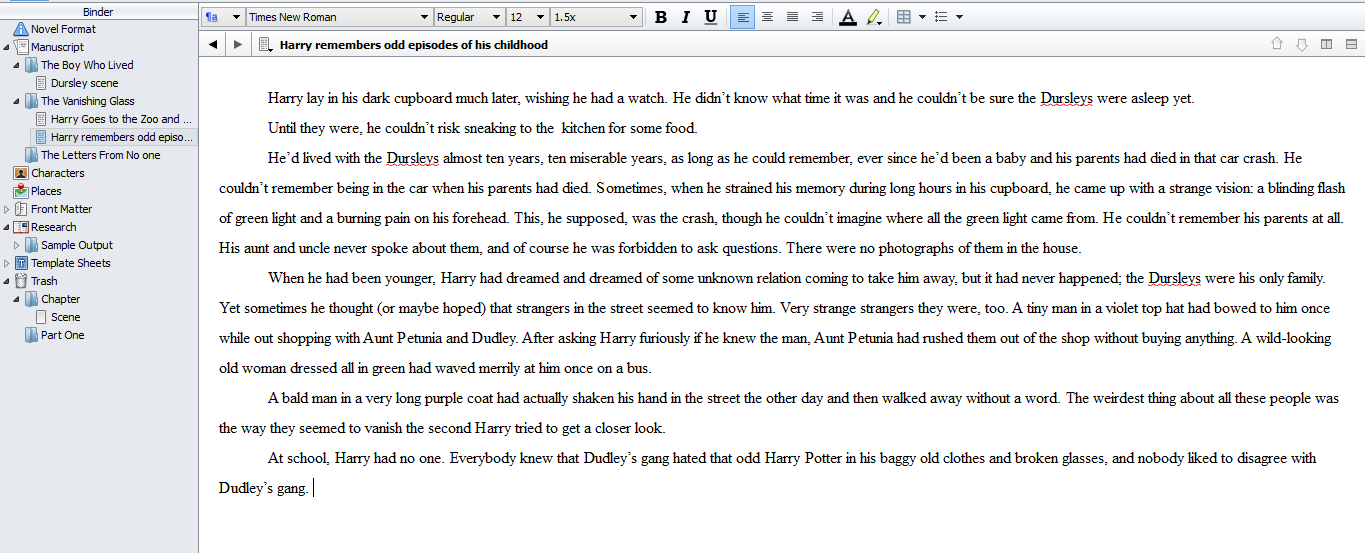
You’ll see that under the chapter “The Vanishing Glass”, we have two scenes. One where Harry goes to the zoo, and the second one where Harry remembers odd things from his childhood.
Manuscript With Parts
Now suppose you’re JK Rowling, and instead, you want to split your book into Parts, rather than just chapters. This is how you can go about doing this.
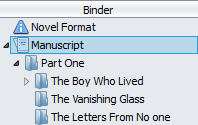
You’ll notice here that there is Part One, and all the chapters underneath it are contained under that. You can click and drag to move them around as much as you like., and there’s no limits to how many chapters you create. You can also rename the folders. Scrivener will number them automatically when it’s time to compile the archives.
Full Screen Background
Another feature I really love about Scrivener is the full screen drafting mode. It lessens the distraction of having your full desktop at your disposal, and makes you concentrate only on your writing and words. One of the thing that it also allows you is to change the background of the story.
You can do it here.
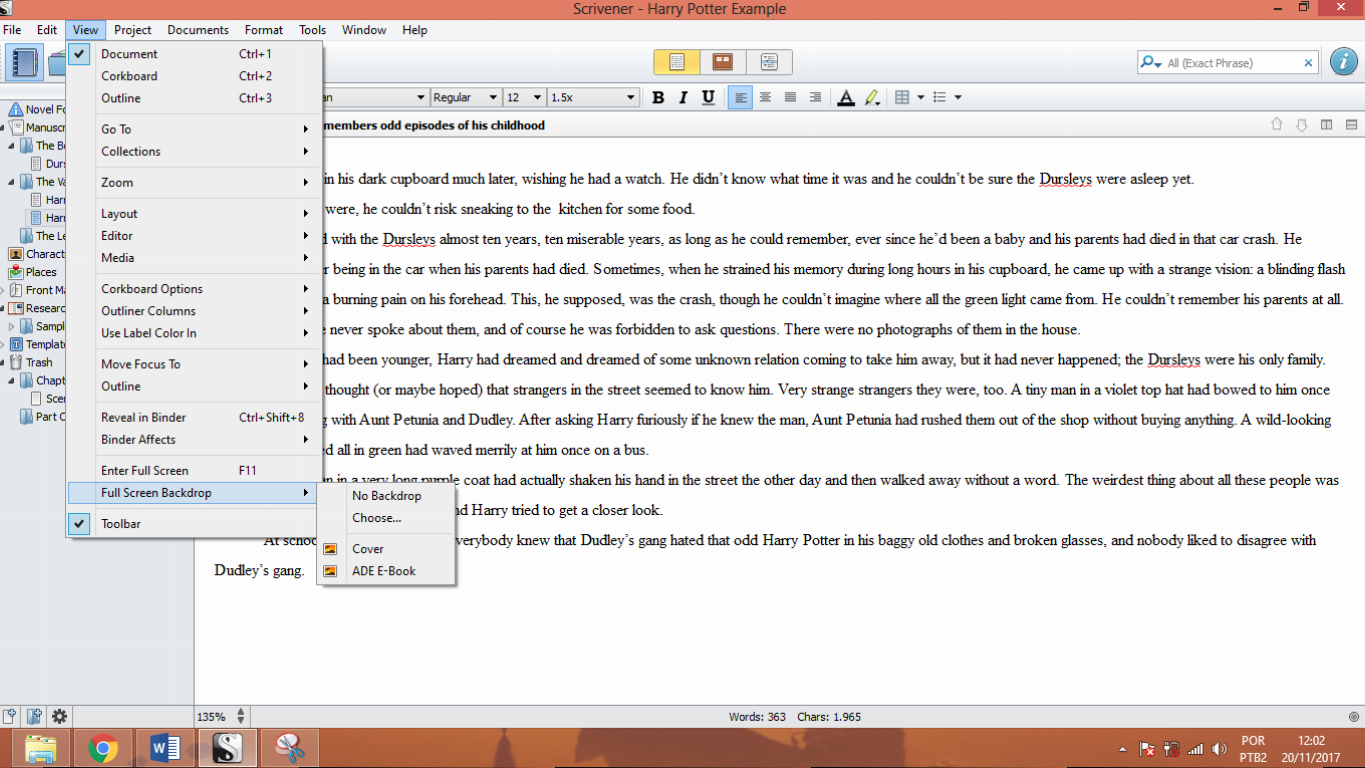
You can choose it under this screen, with View > Full Screen Backdrop > Choose.
Once you do that, you can enter Full Screen mode by clicking F11.
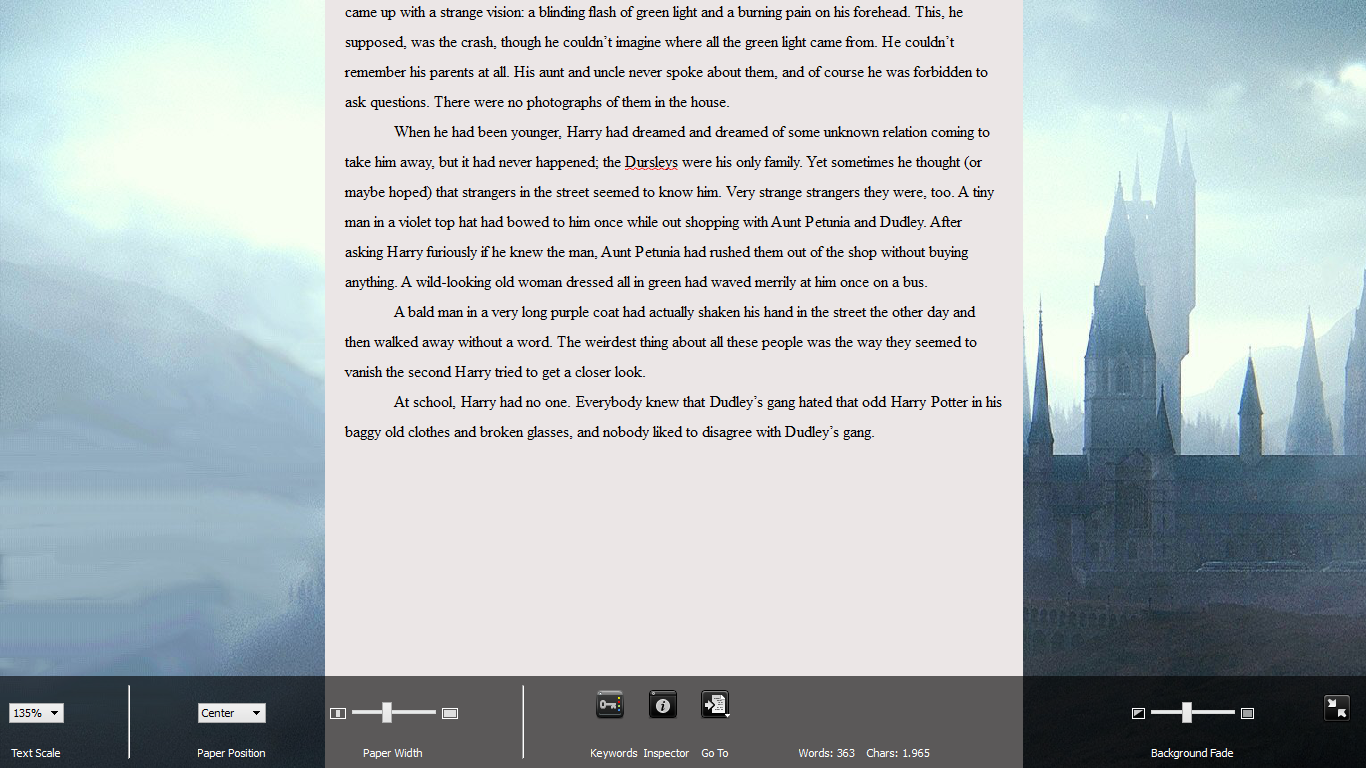
For me, I especially like this feature because it allows me to really get into the setting of my story. I always change the background so it allows me to set a mood/tone — a tone I want to follow throughout the story, and the background is there to help me with it. As I’m drafting Harry Poter, I chose a screen that reflects Hogwarts.
This is it for today’s lesson!
In the next post of the series, I’ll teach you how to track your goals and revise using Scrivener. Read part 2 here.
If there’s anything you’d like to know about using this program, please comment below!