Hello everyone, and welcome to the second post in the How to Use Scrivener series!
- Read part one here.
- Read part three here.
On this post, we’ll talk more about great features of Scrivener, like tracking your daily word goals as well great features that help with the revising portion of your novel. Let’s get to it!
Tracking your Goals
One feature I really love about Scrivener is how it allows you to track your daily word goals through each scene and chapter.
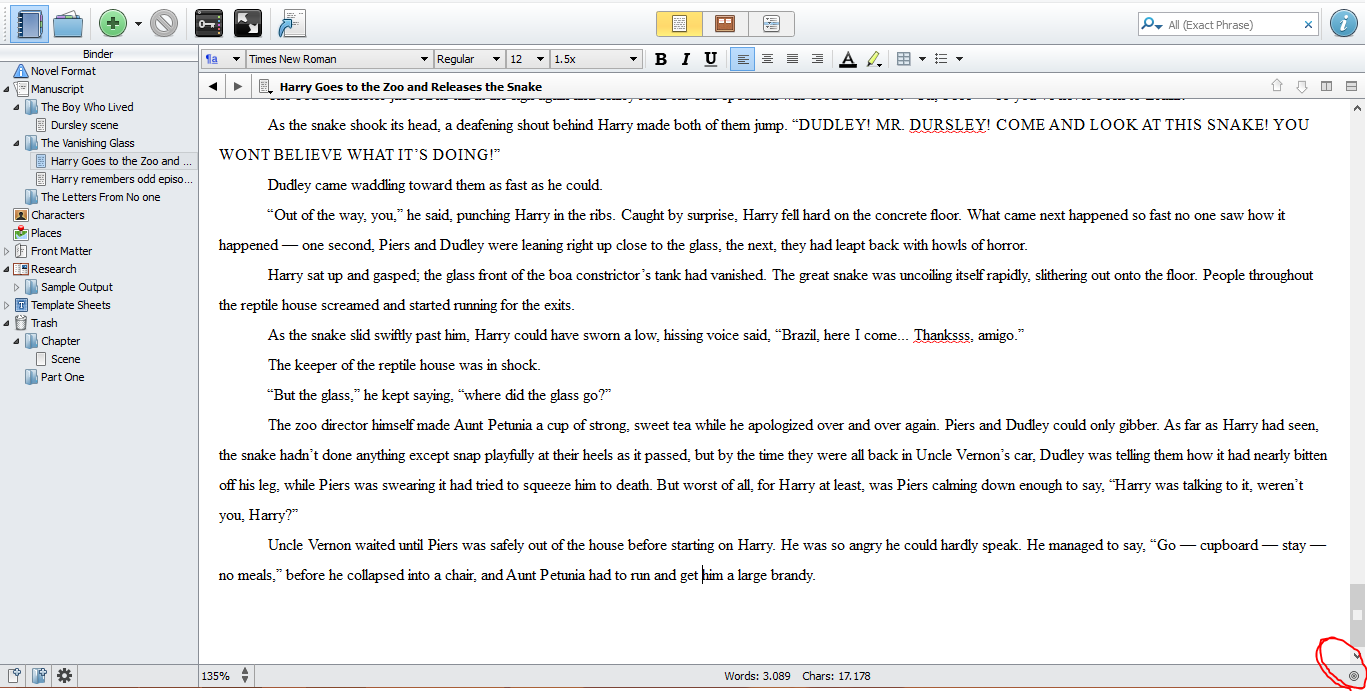
See this little gray ball at the right corner? When you click on it, a new screen will pop up that’ll allow you to input your goal for this specific scene you’re working on.
Here it shows ‘Document Target’. It can be words, characters, or any other goal you’d like. A line will show up at the bottom of the document to show whether or not you’ve achieved your goal.

For example, here I put my goal as 3,500 words. I only have 3,000 words for now, so the bar is green, because I’m almost to my goal, and it shows exactly how many words I still need to write.
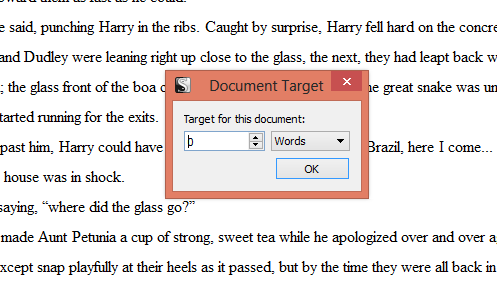
Not only this, but you can track goals for your whole manuscript as well. Go to ‘Project’, and then ‘Project Targets’, as it’s shown below. You can also view Project Statistics, which will give the overall status for your project like word count and number of pages when you compile your manuscript.
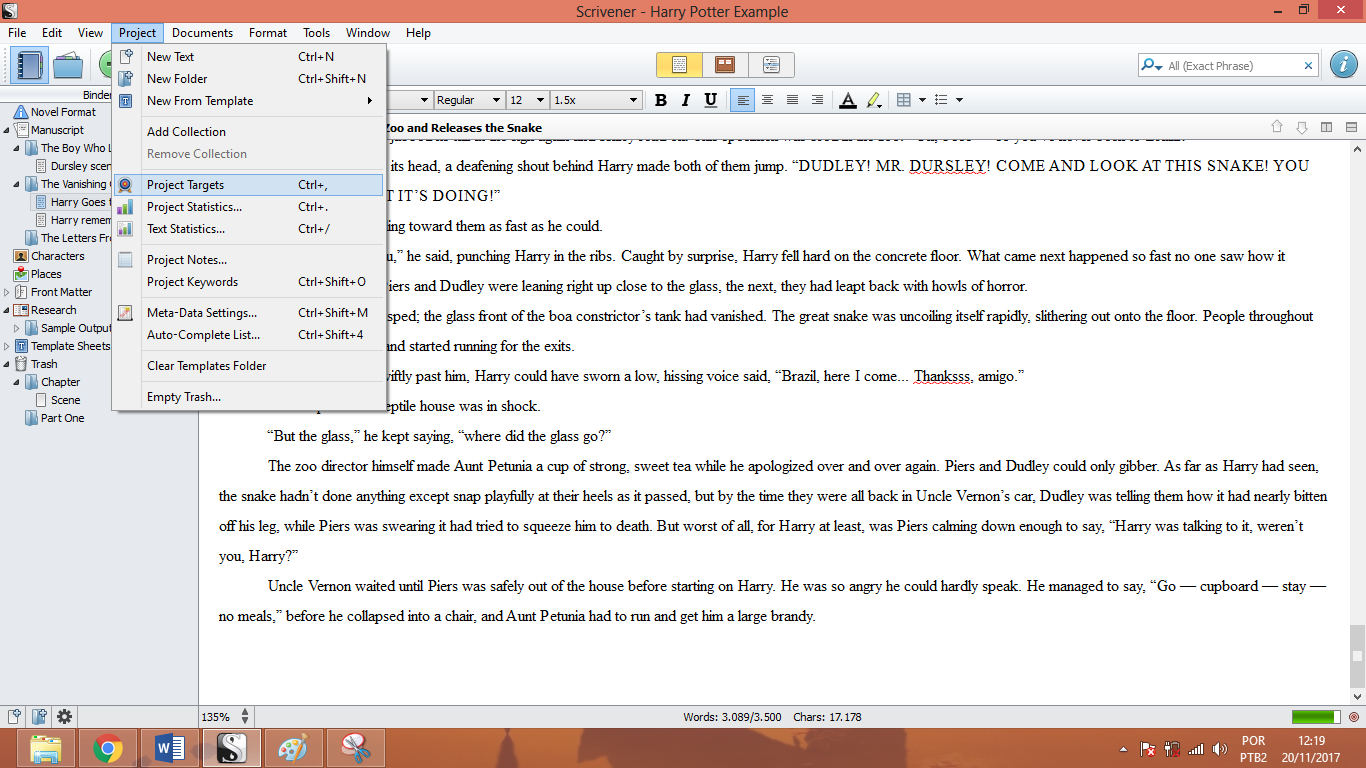
When you click on Project Targets, you’ll be able to see a new screen with new goals to track.

Here you can see your project targets, and insert how long you think this manuscript will be. I put 75k for the first Harry Potter. Under session target, you can reset it everytime you are starting a new sprint. Usually, ‘session’ means everytime you open Scrivener, and how many words you’ve written since you did.
Research
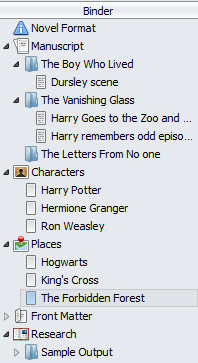
As I said on the previous post, one of the things I love the most about Scrivener is how you can put all your research in one single place. In this example you can see that under character I’ve created a new text for each character, in which you can add their personalities, their background, and anything else you’d like to have reference for. Under places, you can put your settings. You can create as many folders as you like. I have also one for revision notes, another for plot, and ideas for sequels, as well as dialogue snippets.
You can create a new document for each character and place, and also put your research all at once. I use this feature a lot so I don’t have to hop in between folders for checking things. Under research, for my Arabian Nights inspired story, for example, I put a list of Arabic names, as well as research divided into clothing, weapons, army, kingdoms, history, etc.
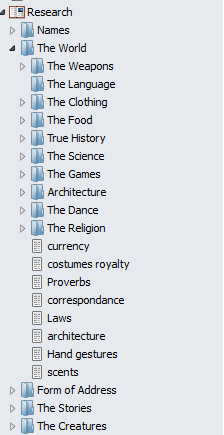
Scrivener allows you to create as many folders as you like, which is one of the things that make it so useful for writer brains.
Revisions
Although Scrivener is very useful for drafting because it allows you to move scenes around, another thing I love about it is what it allows me to do with revisions.
Split Screen
One of the features I like the most is split screen, and it allows you to have a bigger view of your revisions.

When you click on that button, your screen will automatically split in two. You can put an older version of the chapter on one side, and the one you’re revising on the other. It’s also very useful if you have the same scene from different POVs, and you want to keep your dialogue straight.
You can also lock one of the screens in place.
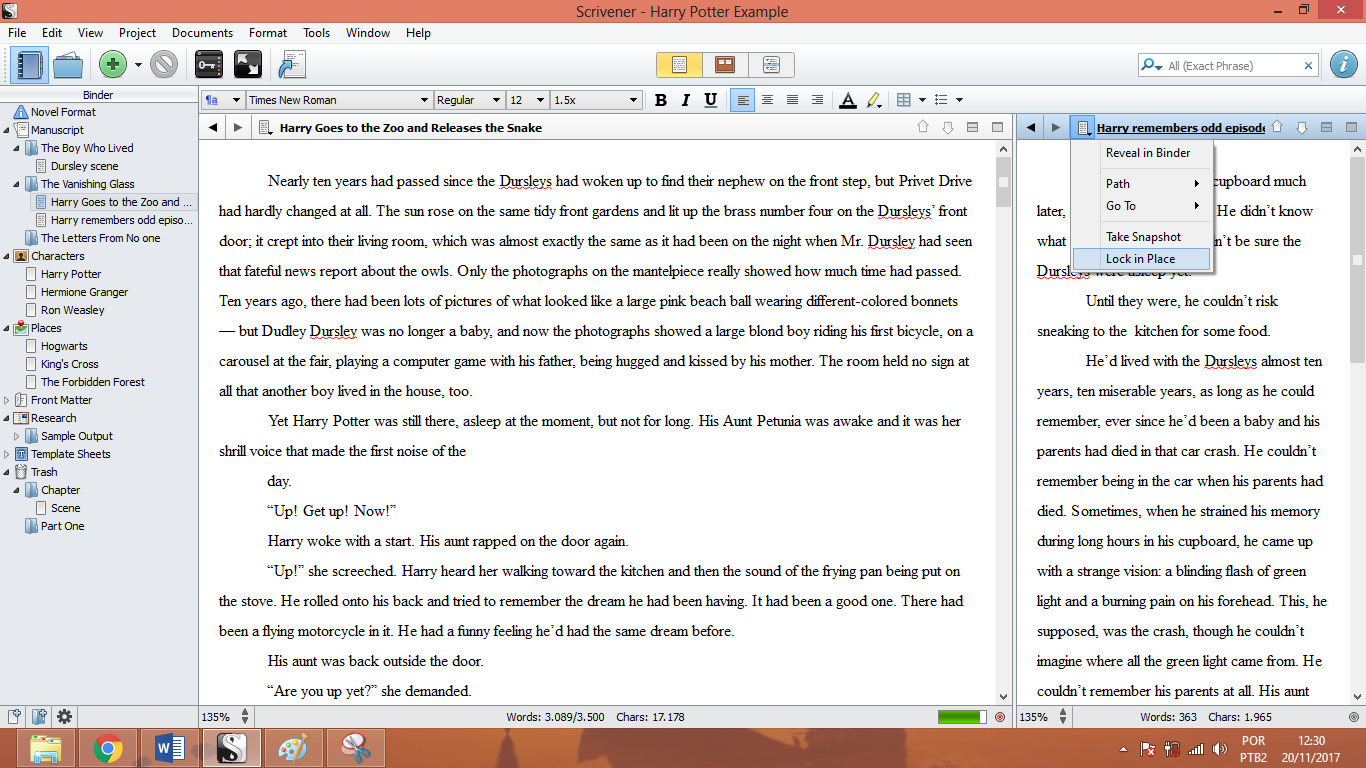
The ‘lock in place’ feature allows you to not move one single chapter around when you click it, so you don’t have to keep going back if you ended up losing yourself.
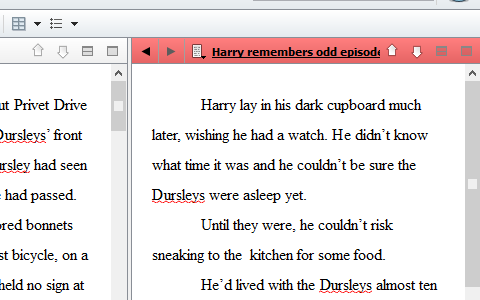
When it’s locked in place, a red bar will cover the chapter that’s locked into place with your split screen.
Infocards & Notes
Another thing that’s super useful is the feature for the infocards and notes. It’s a big blue I in the top right corner of your screen. When you click on it, a new screen will pop up that looks like this:
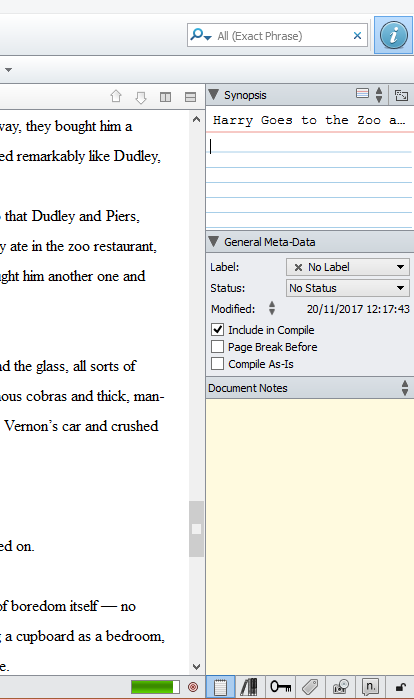
You’ll notice that there are many different parts to this section, but I only use a couple of them. In the infocard you can write down what happens in this chapter, as well as any other notes you think will be particularly useful in the future for when you revise.
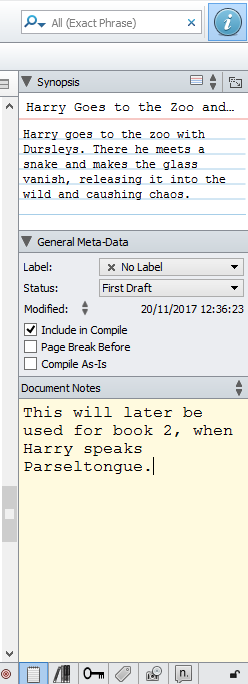
Here you can see I’ve added a small synopsis of this scene. I write one for each chapter and each scene, so when I get to revisions, I know which scenes are useful and which ones I can cut, and it makes it easier for me to locate a particular scene when I need it.
You’ll see that under the general meta-data there is a LABEL status. You can create your own labels with different colors. I found it super useful when writing multi-POV books that I have to keep track in who is doing what in each scene, and make sure it’s all balanced.
You can also see under that N balloon that those are footnotes. Scrivener allows you to add footnotes to each chapter, either to include it in the final text, or you can just include notes to yourself.
Now you see when you select corkboard mode how you can do the same for each chapter, including one small synopsis to each chapter to see what’s happening in it.
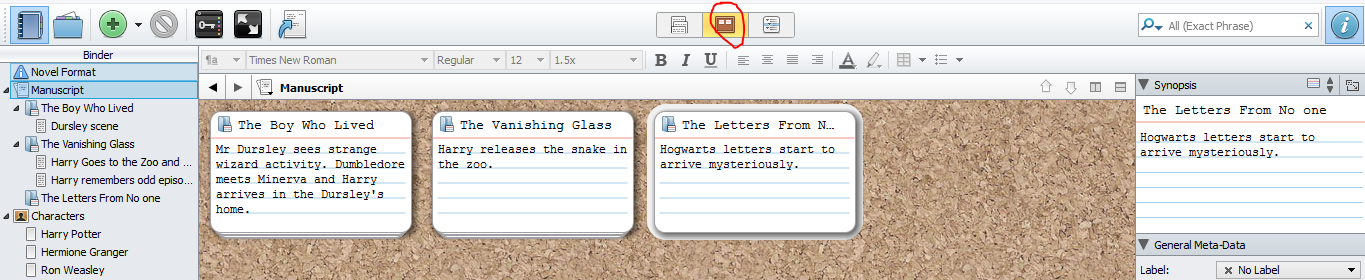
When you click on that button which I’ve indicated with red, it’ll take you to a view of scenes within your chapter, or in my case, as I have manuscript selected, it takes me to a view with all my chapters. I’ve added a small synopsis to each one so I can keep track of them.
This is so much easier when revising, I can’t recommend it enough. Instead of a billion cards written by hand, you get these ones.
Don’t miss the third post in the series, which will be out tomorrow! I’ll talk about compiling your manuscript and making sure it’s on the right shape to send to beta readers and agents.
Are there any questions you’d like to answer about Scrivener?